
SKILL SET
How to Create Extraordinary Shots No Matter what Camera You Use
WRITTEN & PHOTOGRAPHED BY: STEVE HOLLOWAY

In the first sentence of his book On Directing Film, Director and Screen Writer David Mamet writes the main questions a director must answer are “where do I put the camera?” and “what do I tell the actors?”
Two Essential Skills
It’s two questions that instinctively, ingeniously teach the essential skills of camera placement and directing people.
Just Two Questions
It just seems like two simple questions. But putting them into practice showed me how to think like a director. And how to approach images like a cinematographer. How to create a sense of place. Tell a story. Communicate an emotion. Involve a viewer.
“Where do I put the camera?”
This requires looking, really LOOKING, at the whole scene and finding the point of view that tells the story you see. Scan the edges of the frame. Look at the composition. Do you need to move closer? Farther away? (most images benefit from moving closer)
Are there distracting elements on the edges? Are there elements you can include on the edges, exciting elements that help tell the story you’re seeing?
And consider the dramatic circle of action. Will you place the camera inside the action giving the image a participant point of view where the action flows around the camera? Or will you place it outside the action like an observer or passerby?
How can you use the light that’s there. Do you need to add lighting to make the shot work? (don’t worry if you can’t add lighting, Apple’s HDR image capture almost always makes natural light look extraordinary)
Will you use a high or low angel, wide or narrow view, deep or shallow depth of field?
“What do I tell the actors (people in the shot/scene)?”
If you’re working with people in the shot/scene, what you tell them is essential to capturing your idea. Where you tell them to look. What you tell them to do. How they interact. It’s up to you to make the image authentic and realistic. To project the attitude, emotion or expression you want to portray.
Learn what works for you. For me, “Sit up straight” never worked. Saying, “Pull your shoulders back” while actually pulling your own shoulders back as an example so they imitate you almost always works.
To change head position, the chin is an effective point of reference. “Chin up just a little” works. Again, move your chin up as an example. Head is a little crooked? I make a framing box with my hands, look through it at their face and say “straighten your face just a little” while moving in the direction you want them to move.
More often than not, people overcorrect, moving too much. “A little too much, back just a little” corrects it.
“Bright Smile”
Smiles can be tricky. They can look forced or too big. Some people’s eyes completely close when they smile too big. When I’m going for the smile, I first give the direction of exactly where to look then, right before I shoot, I say “Bright smile”.
I borrowed this from a portrait photographer’s video I saw years ago and have been amazed at how well it has worked almost every time I’ve used it.
Want a serious expression. A lot of people don’t know how to “not” smile. It ends up looking like a confused or questioning expression. To get a serious expression, I tell people “Don’t worry about smiling. I’m looking for no affect at all.” I ask them to close their eyes, relax their face then open their eyes.
More than one person in the shot/scene? For groups looking in camera, all of the above still applies.
You can also give them something to do, like everyone looking a picture, set of pictures or video on one of their phones. It focuses all their attention and what’s in the pictures will evoke expressions. Send a set of images or video you’ve selected to their phone (French Bull Dog puppies playing for example) and you can add a little extra control of facial expressions.
You get the idea.
And all of these directions keep you behind the camera, ready to shoot.
Not every situation utilizes the whole process.
Architectural
Architectural photography only gives you the options of choosing the time of day (for lighting) and where to put the camera (point of view).
Still Life
Still life photography only gives you the options of choosing where to put the camera and how you want to light the setup (natural light, window light, reflector fill or supplemental light, front, back, side or top lit).
Action and Real Life
Shooting action shots and real life situations as they happen let you choose where to put the camera and from there it becomes a matter of timing to capture action/emotions as they happen.
I’ve gone into a lot of detail here about creating images. But, did you notice, I didn’t include a single reference to special lenses or neat, gimmicky accessories to make your images “great”? Why? Because those are just tools in a bag. Buying tools doesn’t have anything to do with having the ability to do something.
Because, YOU make your images great. If you don’t develop a director’s skill set to take into the field, no camera or lens or accessory will save you. If you do, you can capture great images no matter what camera you have on hand.
A Director’s Skills in Use
Skills I use every time I pick up a camera.

“Where do I put the camera?” This example of camera placement is from our Back to the Coast road trip. I photographed Rockport Bay outside of our room at The Lighthouse Inn more than once. I wasn’t happy with any of the images.
The shots either had too much glare and contrast or they were too overcast.
Then, on our last night, during the “golden-hour”, the hour before sunset, I looked out the window of our room. The clouds had broken up and the sunlight was skimming perfectly across the water. Light changes every minute or so at the end of the day so time is urgent.
I hurried to get outside. I position two recliners side by side to add a foreground element that looked like they are waiting for a couple to come sit down.
I selected the iPhone 11 Pro Max ultrawide angle lens and started with a ground level point of view. Then eye level. Finally, I placed the camera at waist level and captured the above image.
“What do I tell the actors (people in the shot/scene)?” In this portrait of Chris, I told him that I wasn’t looking for a smile. That I didn’t want any discernable facial expression.
It’s is an approach I learned from photo-realist painter Chuck Close’s work.
Close’s idea was that you learn more about a person when facial expression doesn’t color what you see. Take away the smile and you take away the tendency to discount an image. To think “nice smile” and move on. Instead, you have to look deeper to form an opinion about what you see. You have to participate in the image.
Chuck Close’s work completely changed the way I look at portraiture. I always went for the smile, the open inviting, friendly smile. Chuck Close went for just the opposite.
Close’s paintings starting with 20×24 Polaroids so his process translates to photography videography.
I recall watching a video of one of Close’s photography sessions. He explained to his sitter not to worry about smiling, that actually he was “looking for no affect at all”, no emotion, no facial expression.
That phrase, “looking for no affect at all”, really stuck with me.
We lost Chuck Close in August of 2021. He will be missed and thought of often.

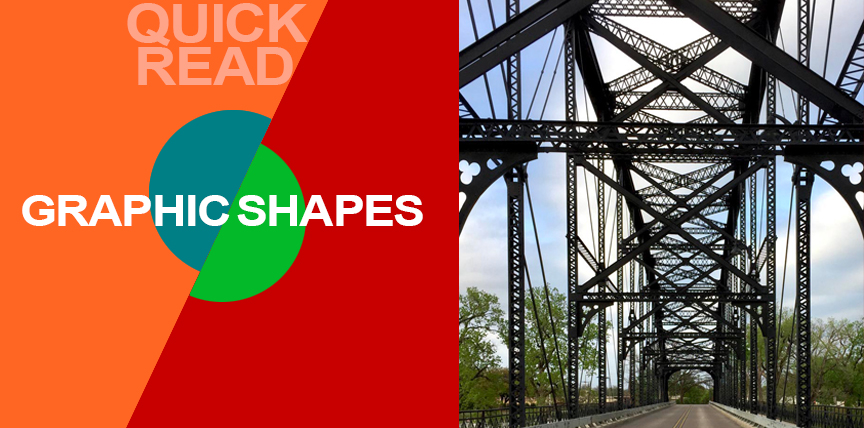
QUICK READ: GRAPHIC SHAPES
Graphically Interesting, Symbolically Versatile
The graphic shapes of a bridge are visually interesting. Functionally, bridges take you from one place to another.
Transitional Images
Symbolically, bridges, like doorways, represent transition, a life change, moving forward and the act of creating a means to overcome obstacles.
Built in 1901, the Washington Street bridge is one of eight vehicular bridges that crisscross the Brazos River connecting Northeast Waco to the historic shopping/dining district, the Waco Riverwalk, the Dr. Pepper Museum and the Magnolia Market at the Silos.
I photographed the Washington Street Bridge for the first time in 2019. It was an overnight visit to Waco so I only had one opportunity to get this shot. It was midmorning. I was shooting handheld on an iPhone 6, tried three camera positions then came back to eye level and captured the image above. Read more about transitional images, how they were captured and post production.

- Shot on iPhone Toolbox [ Homepage ]
- Two Essential Skills [ Change How You Shoot ]
- Two iPhone Features People Take for Granted
- Toolbox How To Guides [ 27 Deep Dive Guides ]
- Translate your Skill Set into a Working Process
- IDEA FILE Shot on iPhone Gallery One
- IDEA FILE Road Portraits One
- IDEA FILE Road Portraits Two
- Digital Evolution
- From The Batman to Shooting on iPhone
- Making the Case For Shooting on iPhone
- Camera and Light Kit Ideas
- Copied on iPhone
- The Power of One Idea
- Becoming Proficient in Post Production
- Designing with Type
- Learning From Cinema
- How the Three Lenses on iPhone Work
- Here are My Influences [ Who are Yours? ]
- Steve Holloway [ Photographs ] Pre iPhone
- Steve Holloway [ Memoirs ]
